Getting a professional sound from your home studio might seem like a tall order. It’s tempting to think you need expensive gear or a fancy space. But the truth is, consistent results come from applying smart techniques and understanding your tools. Whether you’re just starting out or looking to refine your recordings, mastering these core principles can make a significant difference. Let’s walk through practical steps to elevate your home recordings and deliver that polished, professional sound.
Achieving professional sound in home studio recordings is about combining good technique, quality gear, proper acoustics, and consistent practice. Focus on these areas, and your recordings will sound more polished and industry-ready.
Understanding the Foundations of a Professional Home Studio Sound
The secret to professional-sounding recordings begins with understanding that sound quality depends on multiple factors. It’s not just about the gear but also how you use it and the environment you record in. A well-rounded approach ensures your recordings are clear, balanced, and vibrant.
Setting Up Your Space for Success
Your room is the foundation of your sound. Even a simple setup can produce excellent results if you optimize your environment.
1. Choose the right room
Look for a space with minimal background noise and some natural sound absorption. Rooms with carpets, curtains, or bookshelves help reduce echo. Avoid small, boxy spaces that cause harsh reflections. If possible, use a dedicated room for recording to avoid interruptions.
2. Position your equipment wisely
Place your microphone and monitors at ear level, roughly equidistant from your sound source. Keep your microphone away from reflective surfaces. Experiment with placement to find the sweet spot that captures your sound accurately.
3. Introduce acoustic treatment
Adding absorption panels, bass traps, and diffusers can tame unwanted reflections and standing waves. This step is crucial for professional-sounding recordings. You can build affordable DIY panels or buy commercial products. Proper acoustic treatment results in a balanced frequency response and clearer mixes.
4. Manage low-frequency response
Bass frequencies are tricky. Use bass traps in corners and consider using a high-quality subwoofer if your monitors are small. Properly managing low-end prevents muddiness and ensures your mix translates well on different systems.
5. Keep the environment quiet
Turn off noisy appliances, close windows, and use soundproofing materials if needed. A quiet environment allows your microphone to pick up only what you want to record.
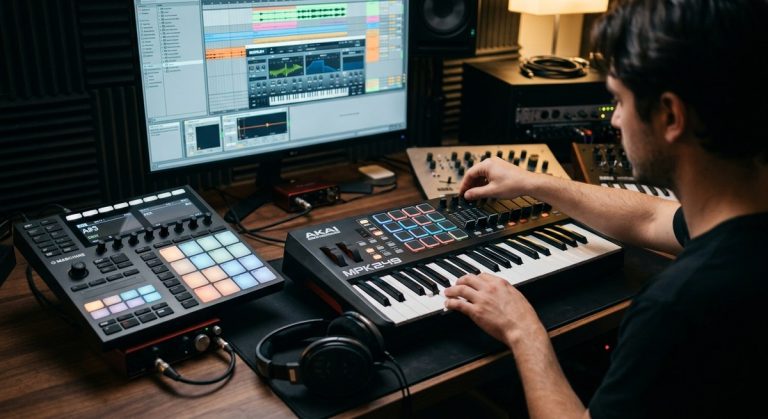
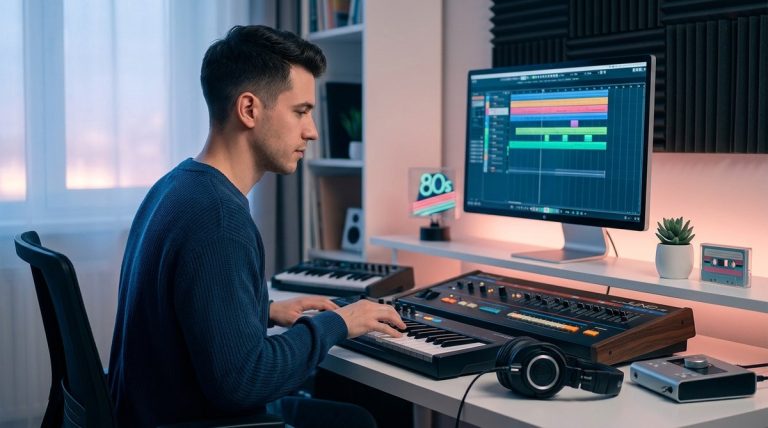
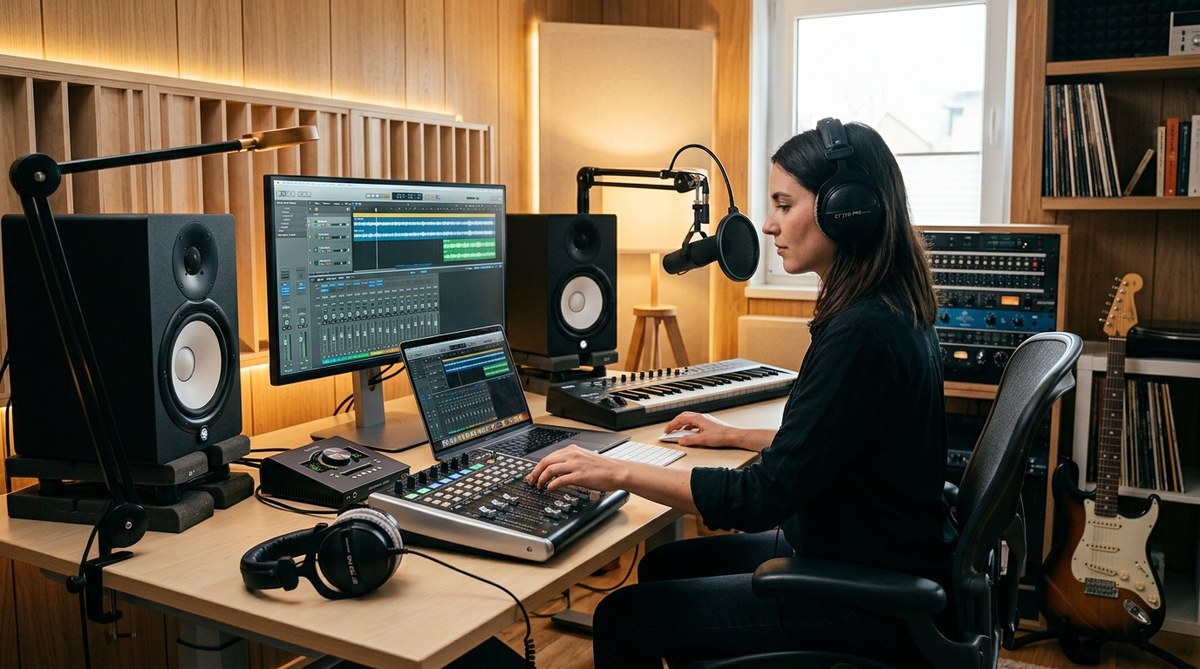
Investing in Quality Equipment
While gear alone doesn’t guarantee a professional sound, choosing the right tools helps. Focus on quality microphones, audio interfaces, and monitors suited for your budget.
- Microphones: A good large-diaphragm condenser mic captures vocals beautifully. For instruments, small-diaphragm condensers excel.
- Audio interface: Look for one with clean preamps and low latency.
- Monitors: Flat-response studio monitors give an accurate picture of your mix.
- Headphones: Use closed-back headphones for tracking and open-back for mixing.
Remember, gear quality should match your recording goals. Starting with reliable, well-reviewed equipment can make your workflow smoother and your sound more professional.
Applying Proven Recording Techniques
Beyond gear and setup, techniques make a big difference.
1. Use proper microphone technique
Maintain a consistent distance from the microphone. Use pop filters for vocals. Experiment with angles to find the most natural sound. Proper technique minimizes unwanted noise and phase issues.
2. Record with high-quality settings
Set your DAW to a minimum of 24-bit depth and 44.1 kHz sample rate. This preserves detail and headroom for mixing.
3. Capture multiple takes
Layer recordings for a fuller sound. Use punch-ins to fix mistakes without re-recording entire takes. Multiple takes give you options during editing.
4. Maintain consistent levels
Set your gain so recordings are loud enough without clipping. Use metering tools to monitor levels. Proper gain staging keeps your recordings clean.
5. Edit with care
Clean up background noise, remove unwanted sounds, and tighten performances. Use fades and crossfades to smooth transitions.
Common Mistakes That Sabotage Your Sound
Recognizing errors can help you avoid costly mistakes. Here’s a quick comparison:
| Technique | Mistake |
|---|---|
| Proper mic placement | Placing mic too close or far |
| Acoustic treatment | Ignoring reflections |
| Using high-quality gear | Relying solely on cheap equipment |
| Consistent gain staging | Clipping or weak levels |
| Recording in a noisy environment | Ignoring background noise |
Expert Tips for Industry-Quality Results
“The key to professional sound in home recordings is consistency and attention to detail,” says seasoned producer Alex Johnson. “Small improvements in your setup and technique add up over time.”
Troubleshooting Common Issues
Even with the best setup, problems may arise. Here are typical issues and solutions:
- Muddy bass: Add bass traps and EQ low frequencies.
- Harsh vocals: Use a pop filter and proper mic technique.
- Unbalanced mixes: Check your monitor calibration and use reference tracks.
- Background noise: Improve room noise control and use noise gates if necessary.
Keep Practicing and Refining Your Skills
Achieving a professional sound in home recordings is an ongoing process. Regularly listen critically, analyze your mixes, and seek feedback. Don’t shy away from experimenting with different techniques and gear. Over time, your skills and recordings will improve.
Final Thoughts on Crafting a Polished Home Studio Sound
Transforming your home recordings into professional-sounding tracks is within reach. Focus on creating a good environment, investing in quality gear suited to your needs, and applying disciplined techniques. Remember, consistency and practice are your best allies. With patience and attention to detail, your recordings will sound more polished and industry-ready. Keep learning, stay curious, and enjoy the journey of making music at home.