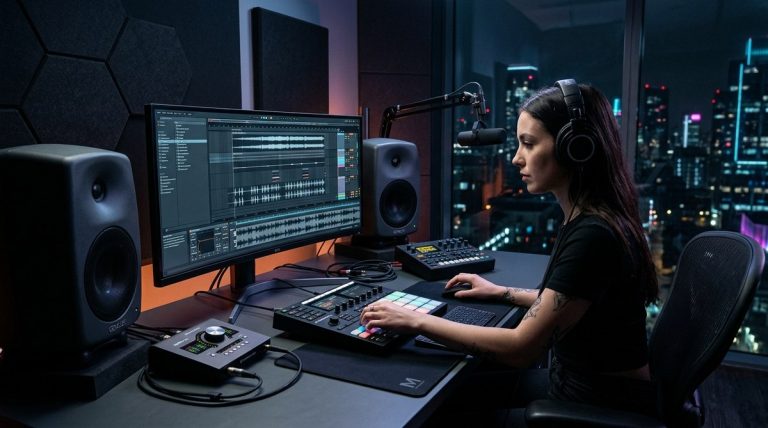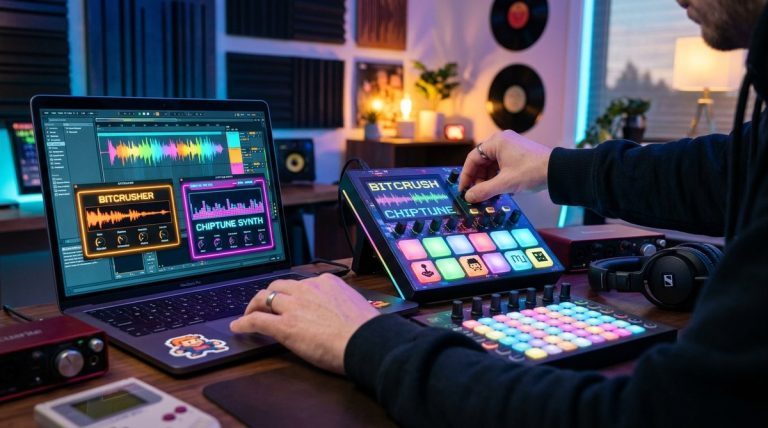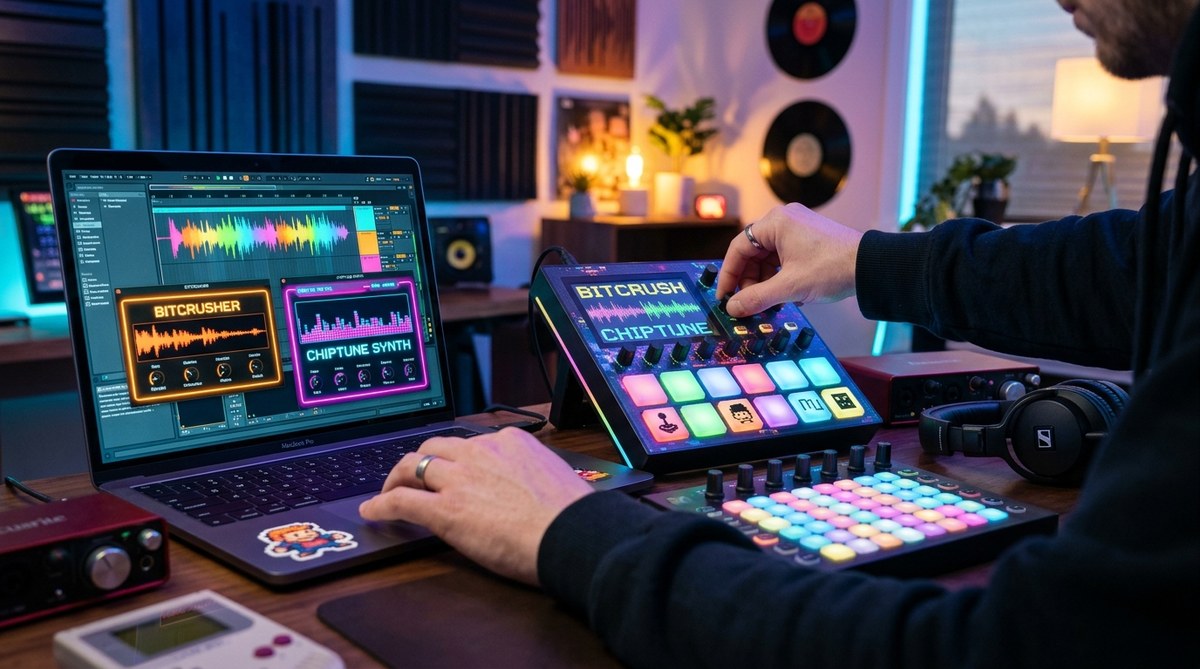
You open your DAW. You load a synth pad. It sounds clean. It sounds safe. You bounce it and realize it disappears in the mix. That is the problem with perfect digital audio. It lacks character. Bitcrushing and chiptune sounds are the antidote. These techniques deliberately degrade your audio, and they make your tracks cut through a crowded frequency spectrum. In 2026, producers from hyperpop to lo-fi hip hop are leaning into gritty, low-resolution textures to stand out. This guide shows you exactly why you should be experimenting with bitcrushing and chiptune music production right now.
Bitcrushing reduces audio resolution to create intentional distortion, while chiptune uses retro sound chips for melodic, 8-bit textures. Together they add grit, nostalgia, and clarity to modern productions. You can start with free plugins, a few simple knob turns, and a willingness to break the rules of high-fidelity mixing.
What Bitcrushing Actually Does to Your Sound
Bitcrushing is a type of distortion that lowers the bit depth of an audio signal. A standard CD quality track uses 16-bit resolution. When you crush that down to 8-bit or even 4-bit, you lose dynamic range. The waveform becomes blocky. You hear quantization noise, which sounds like a grainy, crunchy layer on top of your sound.
This is not a glitch. It is a creative tool.
Lowering the sample rate at the same time creates an aliasing effect. High frequencies fold back into the audible range, giving you metallic, buzzing overtones. Together, bit depth reduction and sample rate reduction turn a smooth pad into a snarling, lo-fi lead. That is the core of bitcrushing chiptune music production.
Why Chiptune Is More Than Nostalgia
Chiptune music originally came from the sound chips inside early game consoles like the NES and Commodore 64. Those chips could only play a few simple waveforms at once. Modern producers recreate those limitations on purpose.
The appeal in 2026 is not just retro nostalgia. Chiptune sounds are incredibly mix-friendly. They occupy narrow frequency bands. They do not rumble into your sub bass or smear across your mids. A square wave lead cuts through a dense arrangement without needing much EQ.
Chiptune also forces you to write better melodies. You cannot hide behind lush reverb or layered pads. You have to make the notes themselves interesting. That discipline improves every other genre you produce.
A 3-Step Workflow for Adding Bitcrushing
You do not need vintage hardware. Every major DAW has a bitcrusher plugin, or you can download a free one. Here is a simple process to apply it.
- Start with a boring sound. Pick a sustained synth pad, a long organ chord, or a held vocal note. The more boring the source, the more dramatic the transformation.
- Dial in the bit depth first. Turn the bit depth knob down slowly. Listen for the moment the sound becomes crunchy but still musical. For most sources, 8-bit is a sweet spot. 4-bit is aggressive and works best on drums.
- Add sample rate reduction carefully. Lower the sample rate to around 8 kHz to 12 kHz. This adds the aliasing artifacts. If the sound becomes too harsh, bring the rate back up. Then mix the crushed signal in parallel with the dry signal using a send or a blend knob.
This technique works wonders on vocals. A 2026 pop vocal with a subtle bitcrush in the chorus can sound huge and aggressive without needing more distortion pedals.
Common Mistakes in Bitcrushing Chiptune Production
Even experienced producers mess this up. Here is a table of what to avoid and what to do instead.
| Mistake | Why It Hurts Your Mix | The Fix |
|---|---|---|
| Crushing the master bus | You destroy all dynamics and cause ear fatigue | Apply bitcrushing to individual tracks only |
| Using 100% wet mix | The sound becomes unrecognizable and harsh | Blend the crushed signal at 20% to 50% wet |
| Forgetting to filter | Aliasing creates harsh high frequencies | Add a low-pass filter after the bitcrusher |
| Overdoing sample rate | The melody becomes a noisy mess | Keep sample rate above 6 kHz for melodic parts |
| Ignoring rhythm | Bitcrushing sounds static on long notes | Automate the bit depth to change over time |
A Bulleted Guide to Essential Chiptune Sounds
If you want to build a chiptune palette from scratch, focus on these core waveforms. Each one has a specific role in a mix.
- Square wave: The classic lead. Bright, hollow, and cuts through everything.
- Triangle wave: Soft and flute-like. Great for melodies that need warmth without harshness.
- Noise channel: Used for hi-hats, snares, and explosions. White noise with a short envelope.
- Pulse wave: A square wave with variable width. Changing the pulse width creates a moving, expressive tone.
- Arpeggiated bass: Fast, repeating notes that simulate a bassline on limited hardware.
How to Layer Chiptune and Modern Sounds
The most exciting productions in 2026 blend retro and modern. You can have a crushing 808 sub bass underneath a square wave melody. The contrast is what grabs listeners.
Try this approach. Write a chord progression using a chiptune pulse wave. Duplicate that MIDI track to a modern analog synth patch. Pan the chiptune sound hard left and the analog sound hard right. Now apply a slow bitcrush automation on the chiptune track so it gets grittier during the chorus. The listener hears the same notes but from two different worlds. That is the magic of the art of genre blending.
“The biggest mistake producers make is treating bitcrushing as an effect instead of an instrument. You would not play a guitar with the same settings for an entire song. Automate the crush. Let it breathe.” – Sarah “ChipGoddess” Tanaka, sound designer and chiptune composer.
The Wrong Way vs. The Right Way
Let us compare two approaches to the same drum loop.
The wrong way: You load a drum loop. You drop a bitcrusher on the master channel. You turn the bit depth down to 2-bit and the sample rate to 4 kHz. The whole loop becomes a garbled, distorted mess. You cannot hear the kick. The snare sounds like static. You give up and remove the plugin.
The right way: You load the same drum loop. You duplicate it onto a second track. You put a bitcrusher on the duplicate only. You set the bit depth to 8-bit and the sample rate to 11 kHz. You high-pass filter the duplicate at 200 Hz. Now you blend the dry loop at 70% volume and the crushed loop at 30% volume. The kick still punches. The snare has a gritty top end. The loop sounds aggressive but controlled.
That is the difference between a ruined mix and a professional texture.
When to Use Bitcrushing in a Song Structure
Timing matters. Bitcrushing loses its impact if it is on all the time.
- Intro: Use a heavy bitcrush on a chord stab to create a lo-fi, vintage feel.
- Verse: Keep the production clean. Save the grit for contrast.
- Pre-chorus: Introduce a subtle bitcrush on a synth pad to build tension.
- Chorus: Hit the listener with a fully crushed lead or vocal. This is your payoff.
- Bridge: Strip everything back to a single chiptune arpeggio. The contrast will feel massive.
- Outro: Gradually increase the bit depth reduction until the sound dissolves into noise.
Why 2026 Is the Perfect Year for This Sound
Music trends cycle. In 2026, hyperpop continues its reign, and that genre lives on extreme digital artifacts. At the same time, lo-fi and chillwave are still massive on streaming platforms. Both worlds need bitcrushing.
The gear is also easier to access than ever. You can get a dedicated bitcrusher pedal for under $100, or use stock plugins. Top music gear trends every producer should know in 2026 show that hardware manufacturers are releasing new units specifically designed for lo-fi and chiptune production. The barrier to entry is lower than it has ever been.
How to Start Experimenting Today
You do not need a game plan. You need a single sound and five minutes.
Open a new project. Load a simple saw wave patch. Add a bitcrusher plugin. Turn the bit depth down until you hear the crunch. Record a short melody. Now listen to how the notes interact with the noise. That is your starting point.
From there, you can explore more advanced techniques like frequency-specific bitcrushing, where you only crush the high end of a sound, or sidechain bitcrushing where a kick triggers the effect. The possibilities are endless once you understand the basic mechanism.
A Table of Recommended Bitcrushing Plugins for 2026
| Plugin Name | Type | Best For | Price |
|---|---|---|---|
| D16 Bitcrusher | Dedicated bitcrusher | Drums and bass | $19 |
| Kilohearts Multipass | Modular effect | Complex routing | Free / Subscription |
| TAL-Bitcrusher | Free plugin | Beginners | Free |
| Soundtoys Decapitator | Saturation with crush | Vocals and leads | $79 |
| Cradle Conqueror | Multi-band bitcrushing | Mastering and buses | $29 |
Tying Bitcrushing Back to Your Overall Production Skills
Learning bitcrushing and chiptune is not a detour from becoming a better producer. It is a shortcut. These techniques teach you about dynamics, frequency masking, and the importance of contrast. When you understand how to intentionally degrade a sound, you also understand how to keep a sound clean.
If you are serious about standing out in 2026, this is the skill to develop. It is cheap. It is fun. And it will make your tracks sound like nothing else in the charts.
Start Crushing and Start Creating
The best time to try this was twenty years ago. The second best time is right now. Load a plugin, turn a knob, and listen. Ignore the instinct to make everything pristine. Embrace the grit. Your next track might just be the one that breaks through because it sounds like nothing else on the radio.
Go open your DAW. Make some noise. And if you want to see where genre trends are heading next, check out exploring emerging music trends that are redefining the industry in 2026. The future of sound is already here. It just needs a little bitcrush.
About the Author